
The Art of Floor Finishing: An Introduction
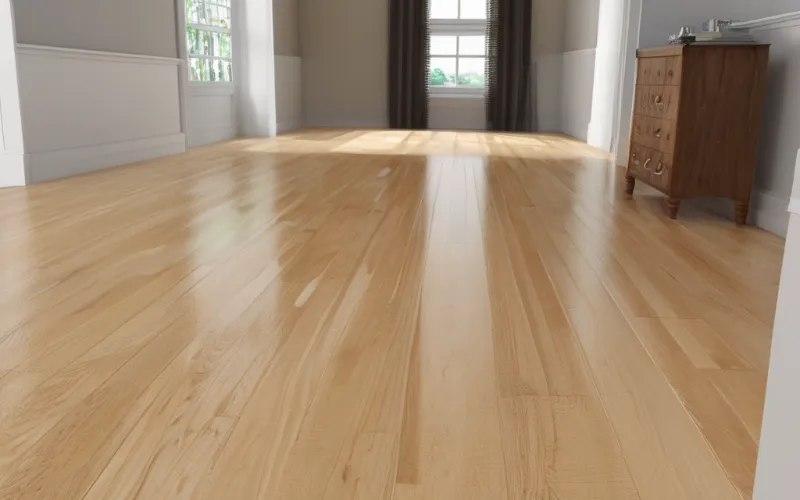
Floor finishing is a crucial process that affects the look and durability of your flooring. A perfect finish elevates your decor and gives it a polished look.
So, whether you’re upgrading your home or a commercial space, it’s worth it. In short, floor finishing means applying a protective coat to an existing floor.
The finish protects the flooring from wear, scratches, and damage. With proper use and care, floor finishing can extend your floors’ life for years.
The Importance of Proper Floor Finishing
Proper floor finishing is not just about aesthetics – it’s also essential for safety. A good finish creates a slip-resistant, grippy surface for people and pets.
Also, finishes like polyurethane block moisture. This prevents mold growth on floors and walls.
Floor finishes protect wooden floors from dents, scratches, and scuffs. These can be caused by high traffic or moving furniture.
It gives homeowners with young kids or pets peace of mind. They have an extra layer of protection for their investment. It is vital to choose and apply the right finish.
This ensures your flooring lasts and looks good.
Preparing The Floor
Cleaning the surface thoroughly
Before applying any finish to your floor, it is essential to clean the surface thoroughly. The first step is sweeping or vacuuming your floor to remove any loose debris, dust, or dirt.
Then, use a microfiber cloth or mop with mild soap and warm water to clean away any remaining grime.
Avoid using harsh chemicals as they may damage the wood. Once you have cleaned the floor, it is time to check for stains and marks that may be difficult to remove.
For ink stains on your hardwood floor, use rubbing alcohol on a cotton ball or a soft cloth to remove them. You may also need to use specialized products like stain removers for gum and wax stains.
Sanding the surface to remove any roughness
Sand the surface before applying any finish. This will ensure that your floor finish adheres and looks smooth after drying. Sanding also removes any roughness or unevenness on your hardwood floors.
When sanding hardwood or any wood floors, start with coarse-grit sandpaper (60-80 grit). Then, move to medium (100-120 grit) and fine (150-180 grit) until the results are smooth.
Excessive sanding can damage wood flooring. So, don’t overdo it. After sanding, remove all debris. Then, fill gaps and holes with wood filler.
Filling Any Gaps Or Holes With Wood Filler
After cleaning and sanding your hardwood floors, inspect them. Look for gaps between planks or holes from nails or screws used in installation.
If not filled when refinishing floors, they could trap dust and debris. This would make cleaning difficult.
You can use wood filler to fill any gaps or holes on your hardwood floors. Choose a filler that matches the color of your floor as closely as possible.
Once you have the right color, fill in the gaps and holes using a putty knife. Once all of these steps are completed, you can now move on to the next step of applying your desired finish to the floor.
Applying The Finish
Choosing the right floor finish is key. It affects the look and durability. The market has many types of finishes. They include oil-based, water-based, and wax-based finishes.
Oil-based finishes provide a deep, amber-like color but take a longer time to dry.
Water-based finishes are clear and dry quickly but need more coats for durability. Wax-based finishes provide a softer look but require more maintenance than other types.
After choosing the right finish for your floor, apply a sealer coat. It protects the wood from moisture and spills. Use a brush or roller to apply the sealer in thin layers until it covers your floor’s entire surface.
Once dried, you can start applying multiple coats of finish for durability and shine. Experts recommend three coats of finish, with sanding between each. This creates a smooth, even surface.
The number of coats you apply will depend on many factors. These include traffic volume, wear and tear, and personal preference. Choose high-gloss, satin, or semi-gloss for your desired look.
Avoid Over-applying
Over-applying any wooden floor finish can cause problems. You may see bubbles or a hazy look. These make your floors unattractive. The recommended method is always thin layers built up over time.
Maintain Proper Ventilation
When using any finishing product that emits volatile chemicals, ensure proper ventilation. Open windows or turn on fans, if possible.
Multitasking Equipment
You may need rollers with long brushes. Their bristles absorb too much paint, causing drips on the floor. Using a multi-tasking tool such as a paintbrush will save you time and frustration.
Drying And Curing
The Importance of Allowing Sufficient Time for Drying and Curing
After applying the finish to your floor, it’s crucial to allow enough time for the finish to dry and cure. Rushing through this process can lead to a variety of issues, such as a dull finish or premature wear and tear.
Drying time depends on your finish, humidity, and temperature. Most finishes require at least 24 hours of drying time before any foot traffic is allowed on the surface.
It’s important to note that while a floor may seem dry to the touch within a few hours, it still needs additional time to fully cure. A good rule of thumb is to wait a week before moving furniture back or using the floor.
Maintaining Proper Ventilation During Drying and Curing
During the drying and curing process, it’s essential to maintain proper ventilation for the finish to dry properly. This means opening windows or using fans to circulate air throughout the room.
Proper ventilation helps prevent problems such as bubbling or peeling in your final product. Don’t rush this step. Avoid using artificial means, like heating or dehumidifying systems.
These methods may cause uneven drying and curing, leading to suboptimal results overall. Patience will pay off. You’ll get a more even, durable finish that protects your floors for years.
Buffing And Polishing
Bringing Out the Shine with Buffing
Once you’ve applied the final coat of finish to your floor, it’s time to begin buffing. This process is vital. It removes any flaws from the finishing and drying stages.
Buffing also restores the shine of your floor, leaving it looking brand new. You can use warm water and a bit of vinegar or mild soap to clean the surface without harming the finish.
You don’t want to risk ruining your hard work by starting too early. Next, attach a buffing pad or sandpaper to a machine designed for this purpose.
Start in one corner of the room and work your way across in small sections. Buffing can create dust and heat. This is due to friction between the pad or sandpaper and your floor.
To avoid damaging your floor or hurting yourself, wear goggles and a mask while buffing. Also, make sure there is plenty of ventilation in the room to minimize dust buildup.
Polishing for a Smooth Finish
Once you have finished buffing all sections of your floor, it’s time to move on to polishing. Polishing adds protection to your surface. It also makes it smoother.
To polish effectively, use a soft cloth or mop with gentle pressure over each section of the flooring. If needed, apply more coats. They should give a smooth, supple finish, free of streaks or smudges.
Always remember: polish only after the finish on hardwood floors has dried and cured. This will ensure maximum durability and shine for years on end!
Maintenance Tips
Keeping Your Finished Floor in Top Shape
After finishing your floor, regular maintenance is key. It will help it last as long as possible. Here are some key tips for keeping your finished floor in top shape:
First, implement a regular cleaning schedule. Daily or weekly sweeping or vacuuming will prevent scratches and damage.
Be sure to use a soft-bristled broom or vacuum attachment to avoid leaving any marks on the surface. Next, consider investing in a quality microfiber mop for more thorough cleaning.
Use this with warm water and a bit of vinegar or mild soap to clean the surface without damaging the finish. Avoid harsh chemicals or abrasive cleaners. They can strip your protective coat. You’ve worked hard to apply it.
Avoiding Harsh Chemicals
While we’re on the subject of avoiding harsh chemicals, let’s dive into this topic a bit further. Many don’t realize that some common cleaners can harm your finished floor.
For example, ammonia-based cleaners like Windex are great for cleaning windows and mirrors. But, they can dull or dissolve your finish if used on wood flooring.
Similarly, products containing bleach should be avoided at all costs, as they can cause discoloration and other damage.
Instead of store-bought cleaners, try making your own. Use natural ingredients like vinegar and baking soda. These will be safer for both you and your floors in the long run!
Screeding our home is essential in construction, you can learn more about it here.
Conclusion.
Proper floor finishing is essential. It preserves your hardwood floors’ beauty and durability. It involves several stages, such as preparing the floor, applying the finish, drying and curing, buffing, and polishing.
To avoid costly mistakes, hire a pro if unsure. A clean and well-maintained floor adds value to your home or business.
By following the tips discussed in this article, you can ensure that your finished floors will look great for years to come. Regular cleaning and maintenance are essential for preserving the finish on your floors.
Using gentle cleaners and avoiding harsh chemicals will help keep them looking their best. Each type of wood has unique traits. They may affect the choice of finish or maintenance approach needed.
Be sure to research what works best with your floor material before beginning any work. With these tips, you can have beautiful hardwood floors. They will resist daily wear and tear and stay shiny!